Creating a Group
- 26 Jun 2023
- 3 Minutes To Read
- Print
- DarkLight
- PDF
Creating a Group
- Updated On 26 Jun 2023
- 3 Minutes To Read
- Print
- DarkLight
- PDF
Article Summary
Share feedback
Thanks for sharing your feedback!
Every group you create is created from a group type. Make sure to have set up any necessary group types before moving on to group creation. For more information, see Group Types.
Individual clients are added to a group as members. You may choose to assign group role names to clients. Group role names must be set up before you create or edit the group; for more information, see Group Role Names.
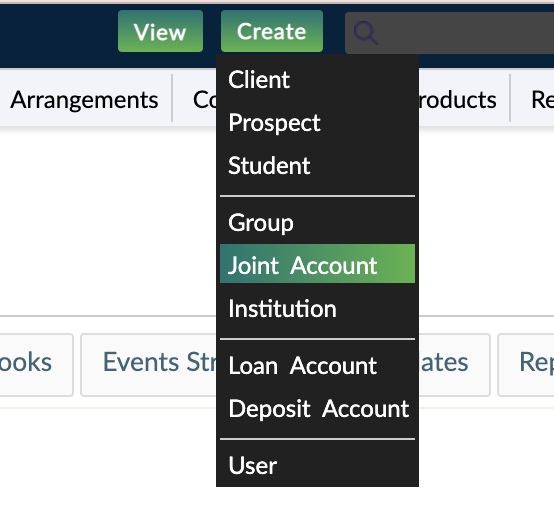
Your user must have the CREATE_GROUP permission to create groups. All the available group types from which you may create a group are listed in the Create menu in the top bar.
Creating a group
To create a group:
- On the top bar, select Create and then select the group type you would like to create a group from.
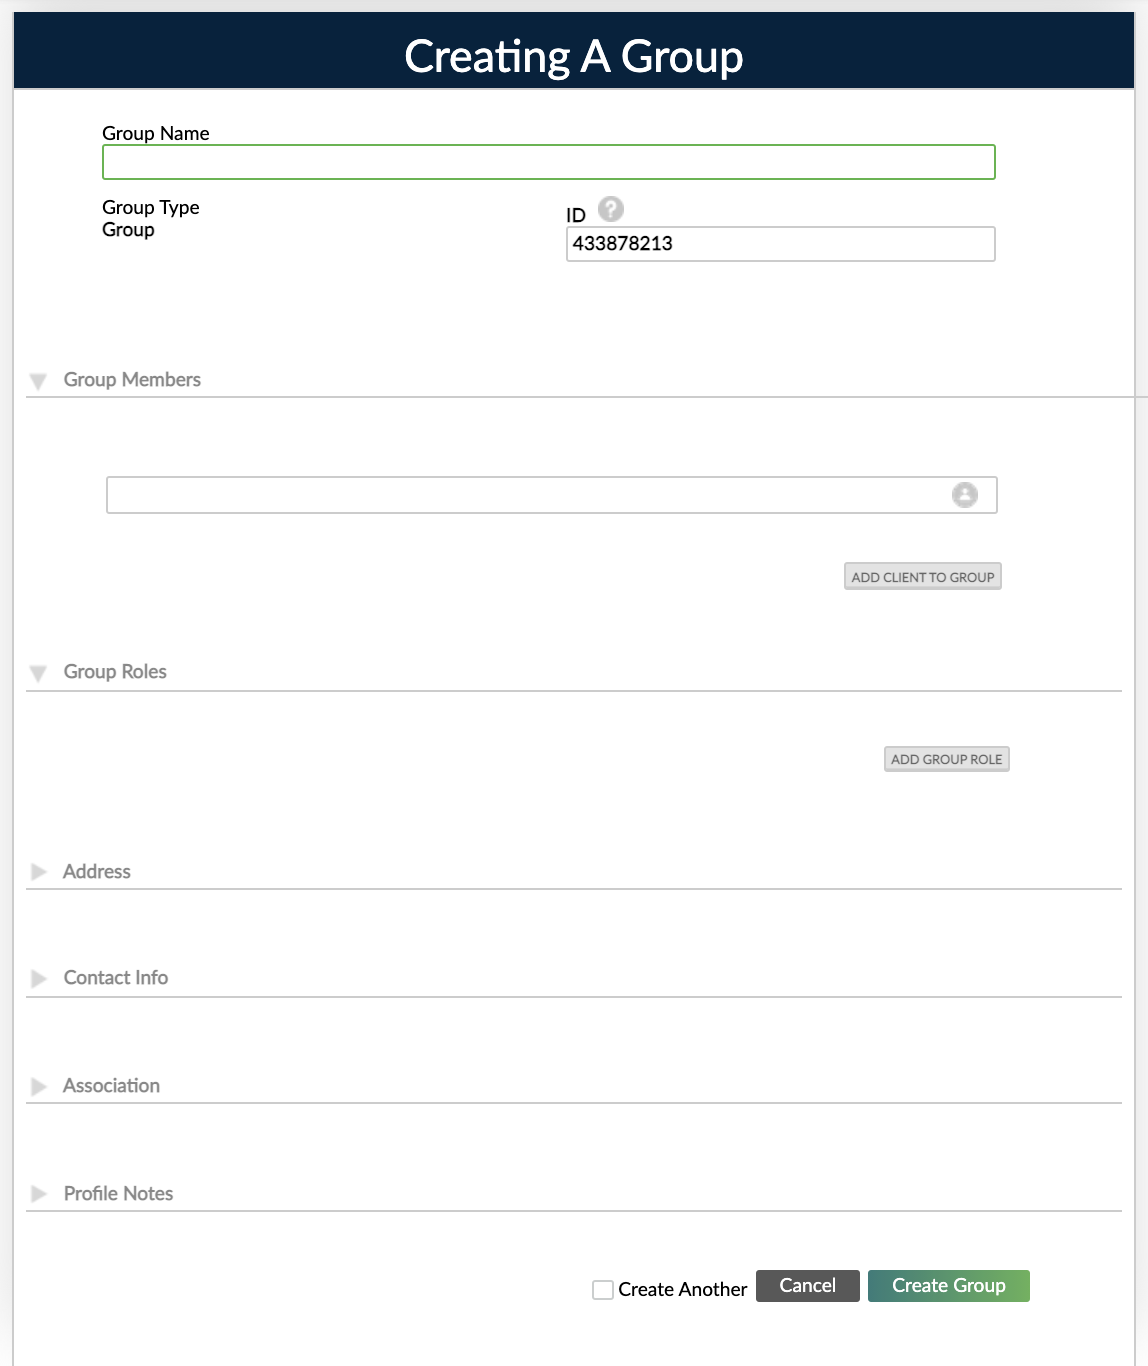
- Enter all the necessary information in the Creating a Group dialog. For more information, see Fields for groups. This includes assigning members to the group and assigning the group role names to those members.
- Select Create Group.
Fields for groups
General details
The Group Name must have a maximum of 255 characters.
The ID is generated automatically upon creation of a new group. To modify the ID when creating or editing a group, you must have the EDIT_GROUP_ID permission. The ID must be unique.
Adding group members
To be part of a group, all members need to have a profile created as individual clients.
To add a member to a group:
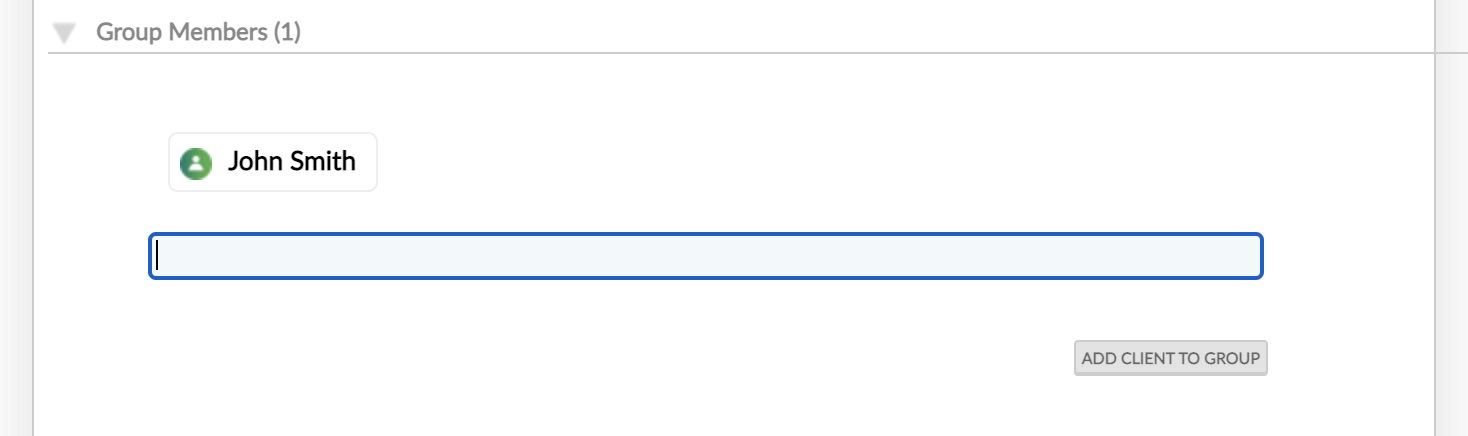
- In the Creating A Group dialog, under Group Members, enter the name of the client you wish to add to the group. As you start typing the client's name, Mambu will automatically provide you with a list of matching names in the system so that you can simply select on the appropriate name in the list.
- Select Add Client To Group.
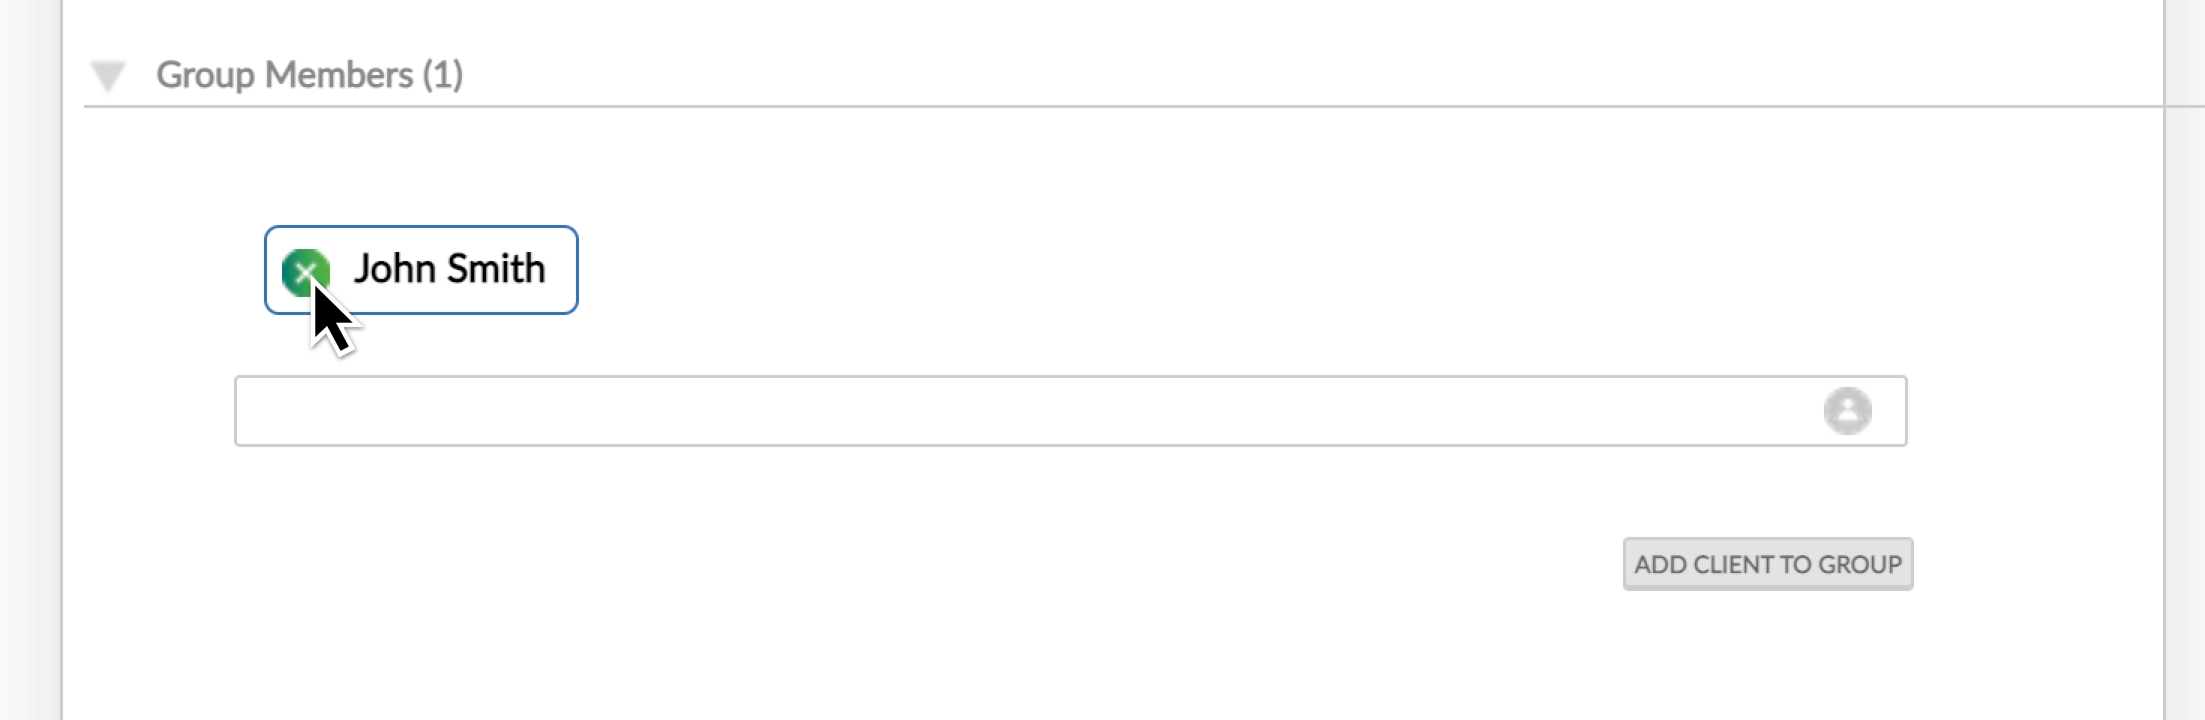
To remove a member from a group:
- Hover your mouse over the members name to reveal the delete icon .
- Select the delete icon .
There are two internal controls that determine whether clients may be in more than one group and the size limit for a group. These internal controls will affect your process of adding clients to a group. For more information, see Internal Controls.
Adding clients to a group upon client creation
If you have the MANAGE_CLIENT_ASSOCIATION permission you can also add clients to a group as members when you create or edit the clients. In the Creating A Client dialog and the Editing Client dialog there is an Association section where you can assign a client as a member to a group.
For audit purposes, an activity will be logged when a client has been added to or removed from a group, which is shown in both the client and the group overview.
Assigning group role names to group members
You must set up any group role names necessary to use them during group creation. For more information, see Group Role Names.
To assign a group role name to a group member:
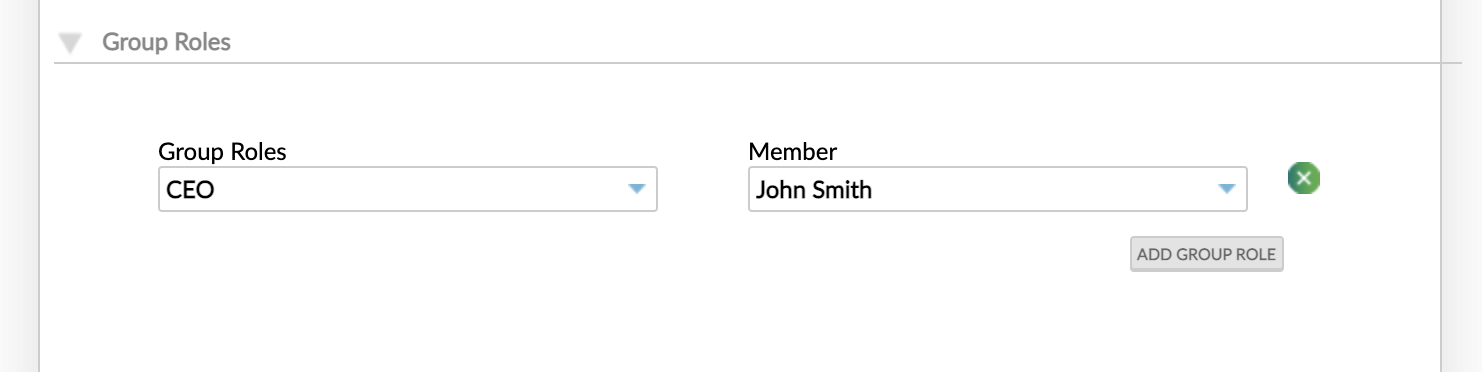
- In the Creating A Group dialog, under Group Roles, select Add Group Role.
- A row will appear with a Group Roles dropdown and a Members dropdown. The group roles in the Group Roles dropdown and the members in the Members dropdown are both displayed in alphabetical order. By default the first item in the list for both dropdowns in selected.
- Use the Group Roles dropdown and the Members dropdown to select the group role name you want and the member you want to assign it to.
To remove a group role name:
- Find the row with the dropdowns specifying the member with the assigned group role name that you would like to delete.
- Select the delete icon next to the row containing the two dropdowns.
Address
The address fields are available if you have selected the Show default address fields option for a group type. For more information, see Fields for group types.
Contact Info
The contact info section allows you to specify the mobile phone, home phone, email, and preferred language of a group. For more information about the preferred language, see Client preferred language.
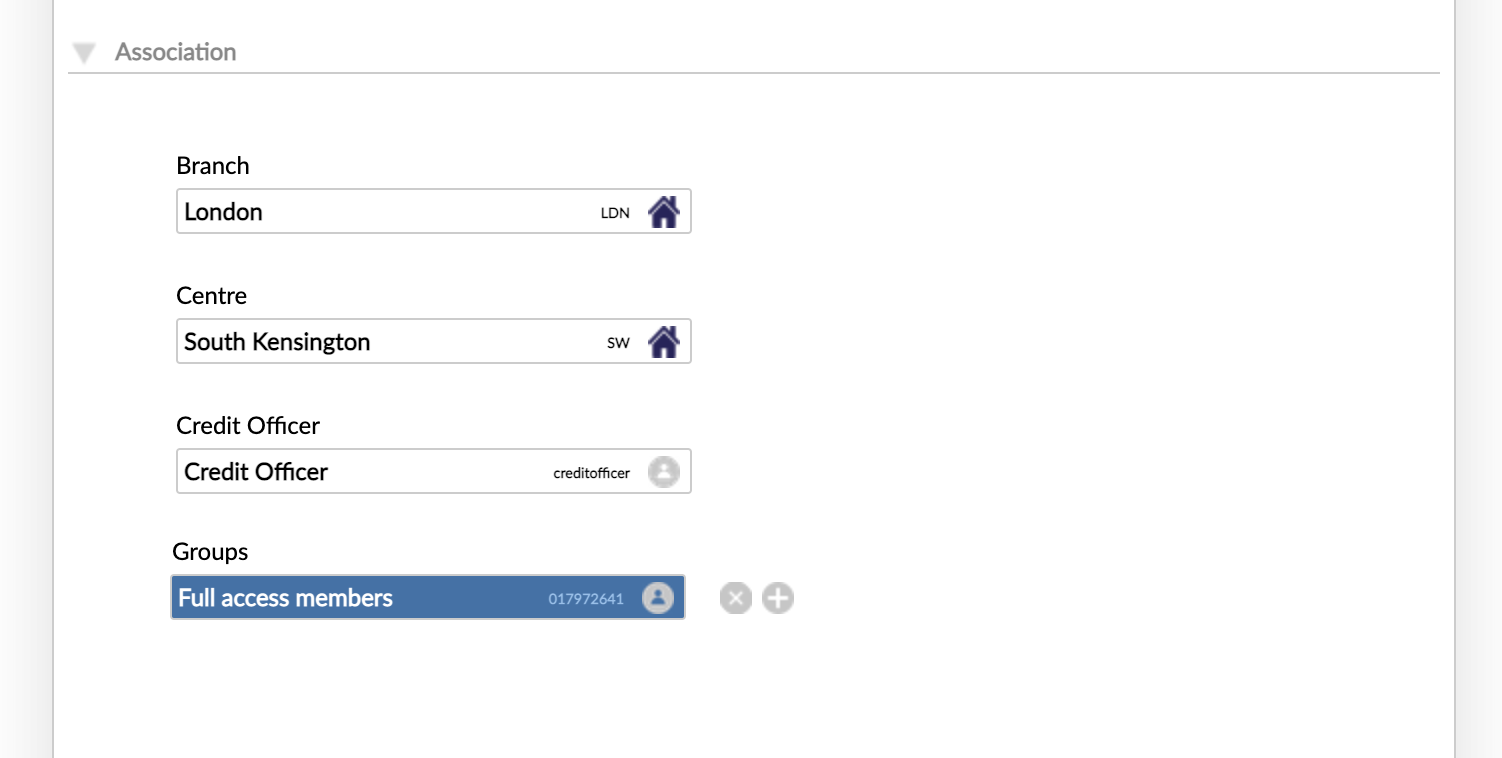
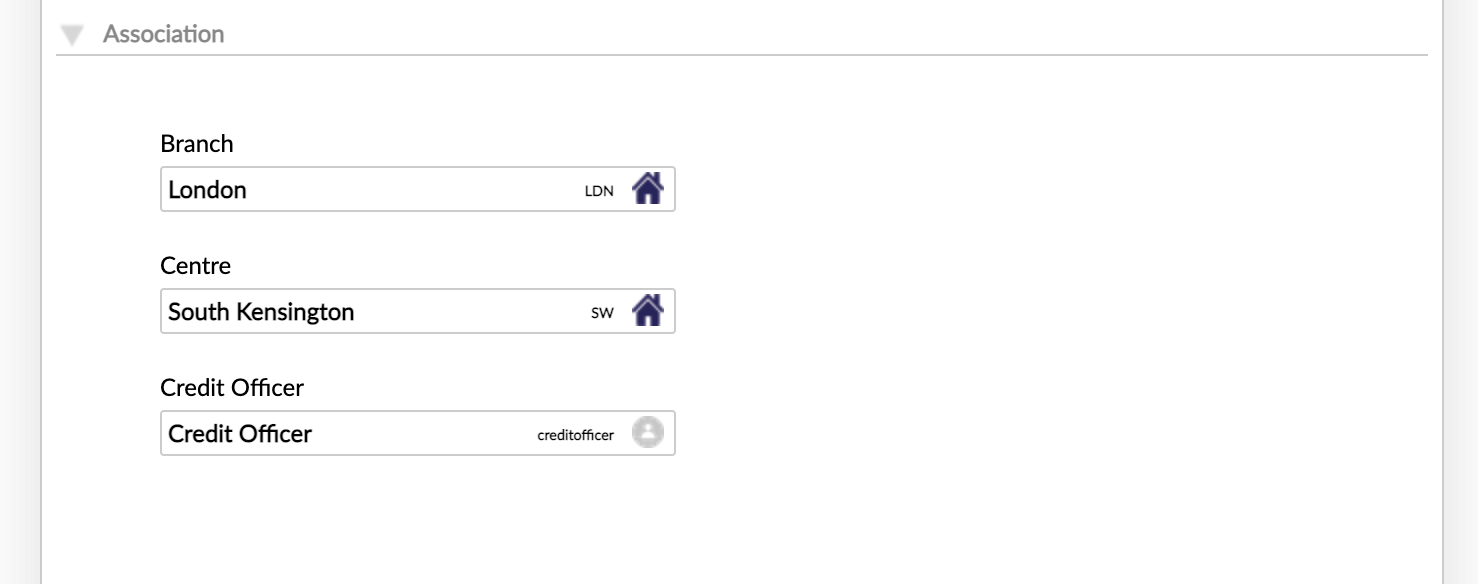
Assigning groups to branches, centres, and credit officers
If you would like to assign a group to a specific branch, centre and credit officer then you can use the Branch, Centre, and Credit Officer fields in the Association section to do so. You user must have the MANAGE_GROUP_ASSOCIATION permission to have access to this section.
Custom fields
If you have set up custom field definitions for groups then you will have the option to enter custom field values for those as well depending on the availability settings for the group types. For more information, see Custom Fields.
Was this article helpful?